
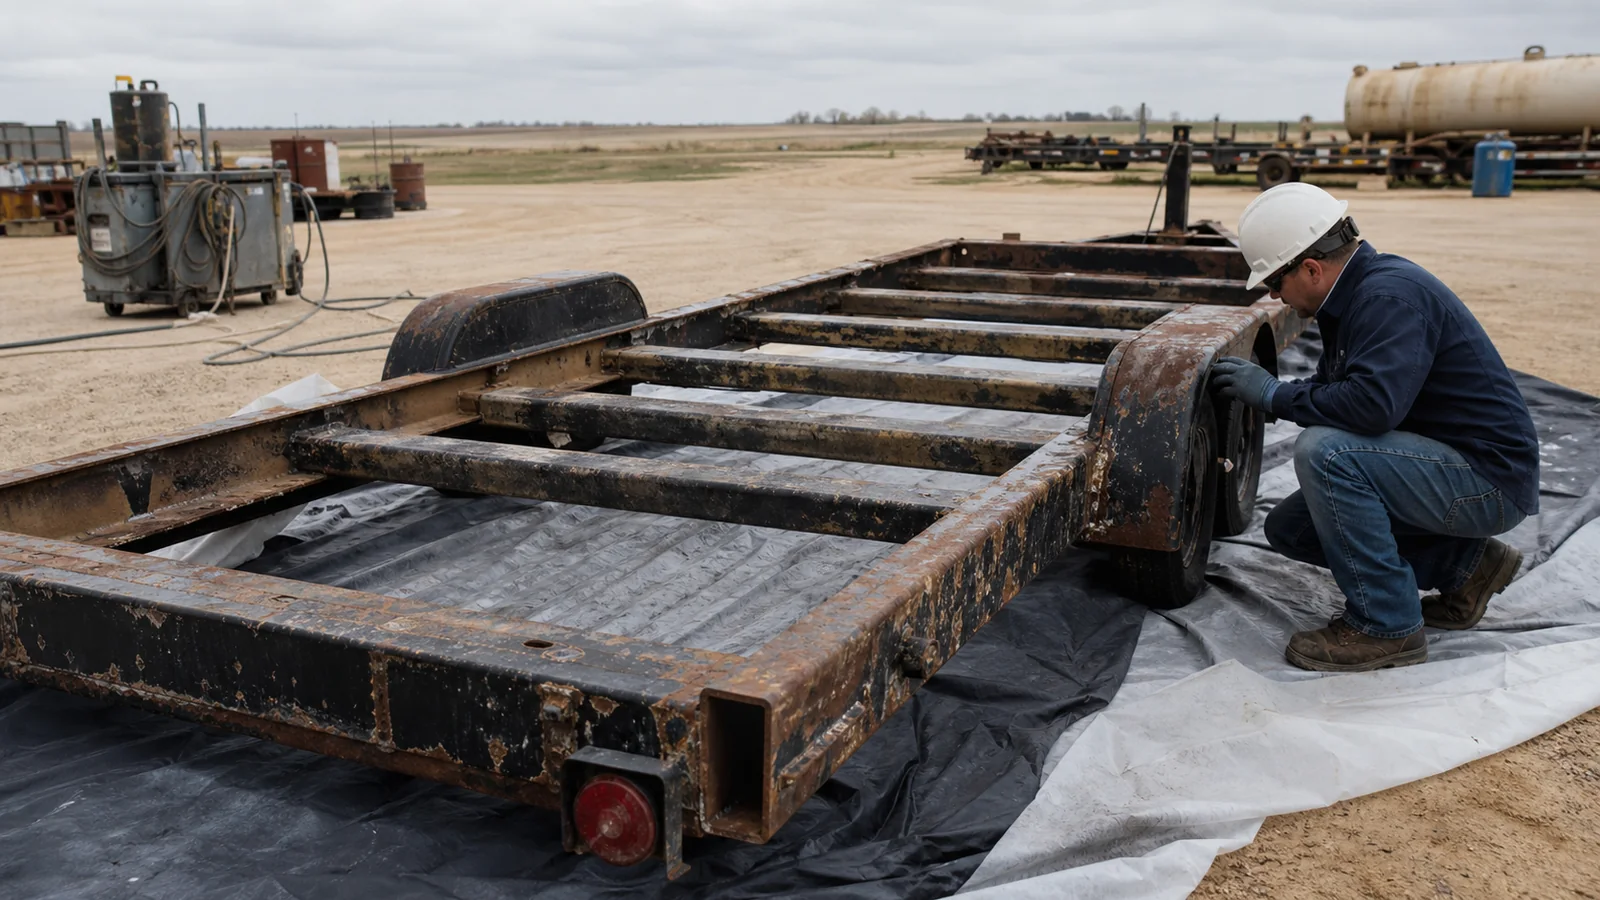
Rust on a utility or equipment trailer rarely stays confined to one convenient flat panel. Coating failure often begins at rock chips, welds, edges, brackets, and seams where moisture and road contaminants linger. Painting over those weak layers may improve appearance briefly, but it does not create a reliable foundation for the next coating.
This trailer restoration case study is an illustrative planning scenario, based on the common conditions and workflow described in Manases EcoBlast’s legacy guidance. The source does not document a specific completed customer job with measurements, photographs, or inspection records, so the details below should not be read as verified project results. Instead, the scenario shows how an owner, blasting provider, repair team, and painter could plan a rusty trailer from initial assessment through a ready-for-primer handoff.
The Example Trailer and Restoration Objective
Assume a working utility or equipment trailer has failing paint and visible surface corrosion around the frame rails, crossmembers, welds, corners, and high-wear loading areas. Road spray, wet grass, mud, stone impacts, and abrasion have opened paths beneath the finish. The owner wants to remove unsound material, identify areas that need repair, and prepare suitable steel for a new outdoor coating system.
“Make it ready for primer” needs a project-specific definition. It could mean complete coating removal to a specified cleanliness and profile, spot preparation around failed areas, or a combination of bare steel and feathered sound coating. The coating manufacturer or applicator should establish that endpoint before blasting begins.
The proposed scope should record:
- trailer type, dimensions, and asset identification;
- known paint or coating history;
- rust locations and apparent severity;
- components to remove, mask, or leave untouched;
- required surface cleanliness and profile;
- who will inspect exposed steel and authorize repairs; and
- the primer product, application conditions, and handoff window.
Blasting can expose pitting, cracks, failed welds, or thin sections, but it does not certify structural integrity. A qualified trailer repair professional must decide whether damaged members remain serviceable.
Why Hand Sanding Alone May Be Inefficient
Small isolated defects can often be prepared with hand or power tools. A full trailer frame, however, includes geometry that makes consistent access difficult: weld beads, inside corners, crossmembers, bolt holes, brackets, stake pockets, rails, and textured corrosion. These details are also common locations for early coating failure.
Abrasive blasting can reach complex surfaces more uniformly than a sander when access and line of sight permit. It can remove loose corrosion and failed coating while creating a profile for a compatible primer. That advantage does not eliminate detail work. Shielded backsides, enclosed tubes, deep lap seams, and areas behind installed hardware may remain inaccessible and should be called out in the scope.
The choice is not necessarily blasting versus sanding for every square inch. A practical plan may combine degreasing, disassembly, blasting, power-tool preparation, repair, and final touch-up. A representative test area helps establish whether the selected abrasive and settings remove the coating without producing an excessive profile.
A Controlled Preparation Workflow
The illustrative workflow begins before the nozzle is turned on.
- Document and pre-clean. Photograph all sides, identify existing damage, and remove mud, grease, oil, and packed debris that could interfere with preparation.
- Confirm the endpoint. Have the coating party define acceptable remaining paint, transition edges, cleanliness, profile, and flash-rust tolerance.
- Disassemble or protect. Address wiring, lights, reflectors, identification plates, bearings, seals, hydraulic components, tires, wood decking, brake parts, and machined surfaces.
- Establish the work zone. Control access, wind exposure, runoff, rebound, wet spent media, nearby vehicles, doors, drains, and sensitive property.
- Run a test area. Adjust abrasive, pressure, flow, distance, angle, and travel speed to the steel and coating.
- Prepare in logical sections. Give priority to edges, welds, corners, brackets, and corrosion pockets while keeping sections manageable for inspection and coating.
- Inspect and touch up. Check for missed coating, unacceptable contamination, inaccessible zones, and newly visible defects.
- Release to the next trade. Clean and dry as specified, verify the accepted condition, and move promptly into repair or primer.
Wet abrasive blasting reduces airborne dust compared with dry blasting, but it is not dust-free. Water, removed paint, corrosion, and abrasive still require containment and recovery appropriate to the site and coating. Unknown or older finishes may need testing before disturbance.
What a Successful Handoff Would Look Like
The result should be judged against agreed acceptance criteria, not only by whether the steel appears bright in a photograph. In this scenario, a successful blasting stage would remove the designated failing paint and loose corrosion, provide the specified texture where accessible, and leave welds, seams, edges, and corners available for inspection.
The post-preparation review may reveal work that was impossible to price from the original coated condition: deep pitting, cracks beside welds, previously concealed patches, or steel loss. Those findings are useful, but they may pause the coating schedule. The owner should establish who can approve repairs and whether repaired areas require reblasting or power-tool touch-up.
Claims about coating life should remain measured. Better preparation can improve adhesion and system performance, but longevity also depends on design, drainage, contamination, steel condition, primer and topcoat selection, application thickness, weather, cure, service exposure, and future damage. Surface preparation is essential; it is not a guarantee against corrosion.
Primer Timing Is Part of the Blasting Plan
Freshly prepared carbon steel can begin to oxidize quickly. Humidity, rain, condensation, steel temperature, residual salts, and the preparation method influence flash rust. For that reason, “blast today and decide on paint later” is a poor restoration schedule.
The coating team should be ready before preparation starts. Confirm product availability, recoat windows, environmental limits, drying method, surface verification, and a covered location if weather changes. Many projects aim to prime as soon as practical, often the same day, but the actual maximum interval comes from the coating specification and observed surface condition—not a universal clock.
Edges, welds, bolt areas, and seams may benefit from stripe-coat attention where the coating system calls for it. These shapes are difficult to cover at uniform film thickness and often see harsh exposure. If the trailer must travel between preparation and coating sites, protect it from rain, road spray, bare-hand contact, and open-ended delays.
Lessons Owners Can Apply to Similar Equipment
The same planning principles apply to many steel frames, implements, ramps, and equipment components:
- define the intended coating system before choosing the preparation method;
- treat edges, corners, welds, and seams as priority zones;
- remove grease and soil rather than blasting through contamination;
- expect preparation to reveal repair needs;
- coordinate inspection, repair, touch-up, and primer as one sequence;
- distinguish reduced-dust wet blasting from a dust-free process; and
- schedule around the complete restoration chain, not just nozzle time.
For multiple trailers, use a representative pilot unit. Record settings, masking decisions, preparation boundaries, inspection results, cleanup needs, and painter feedback. Updating the work package after the pilot can reduce uncertainty across the remaining fleet.
Frequently Asked Questions
Can a rusty trailer be blasted without removing the deck?
Sometimes access and the intended scope allow the deck to remain, but it can shield rails and crossmembers or trap media and moisture. The owner, blasting provider, and repair team should decide whether removal or protection produces the required access.
Does wet abrasive blasting prevent flash rust?
No. It reduces airborne dust compared with dry blasting, but exposed carbon steel can still oxidize. Drying, contamination control, weather, any approved inhibitor, and prompt coating coordination all matter.
How long does trailer surface preparation take?
Duration depends on trailer size, coating thickness, rust severity, geometry, access, disassembly, containment, and required endpoint. A test area gives a more credible production estimate than square footage alone.
Will blasting repair deep rust or weak steel?
No. Blasting removes designated coatings and corrosion products and can expose damage. A qualified repair professional must evaluate pitting, cracks, welds, and section loss and perform any required structural work.
Request a Trailer Preparation Assessment
For a practical scope, send Manases EcoBlast three to five wide and close photos, trailer type and approximate dimensions, location, worst corrosion areas, known coating history, intended primer, and desired schedule. Include photos of the underside, crossmembers, welds, ramps, and components that may need protection.
Call 512-592-1288 or email contact@manasesecoblast.com to discuss mobile trailer and equipment surface preparation across Kansas, Oklahoma, and Texas. Manases EcoBlast operates from Great Bend and Austin and can help define the blasting stage and coating handoff without presenting preparation as structural repair or finished painting.
Suggested next reads: